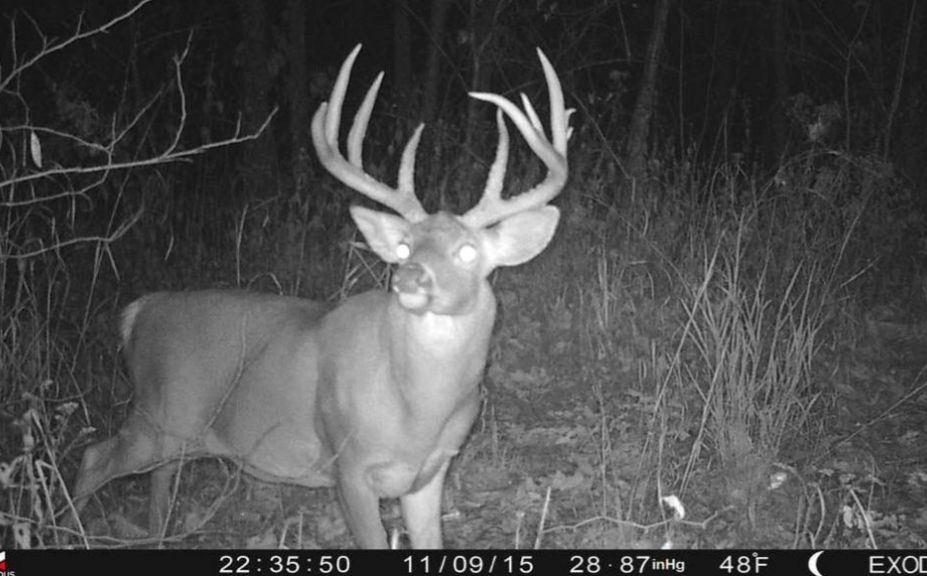
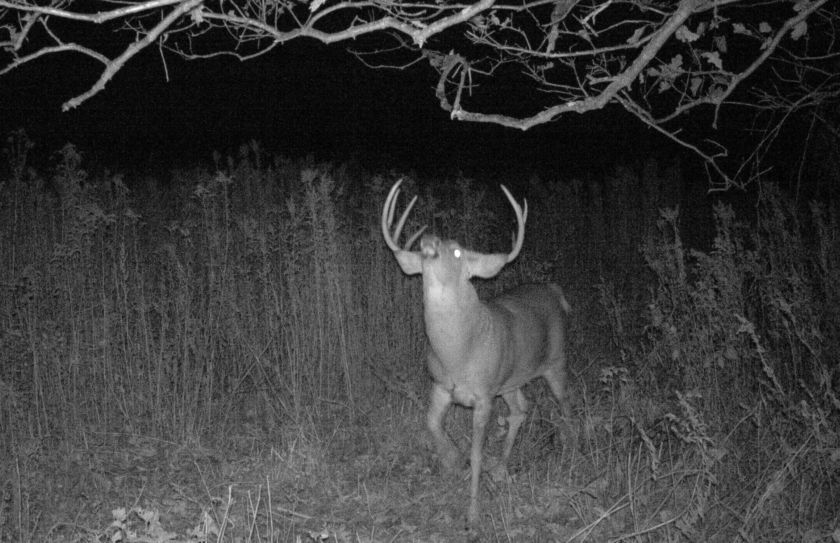
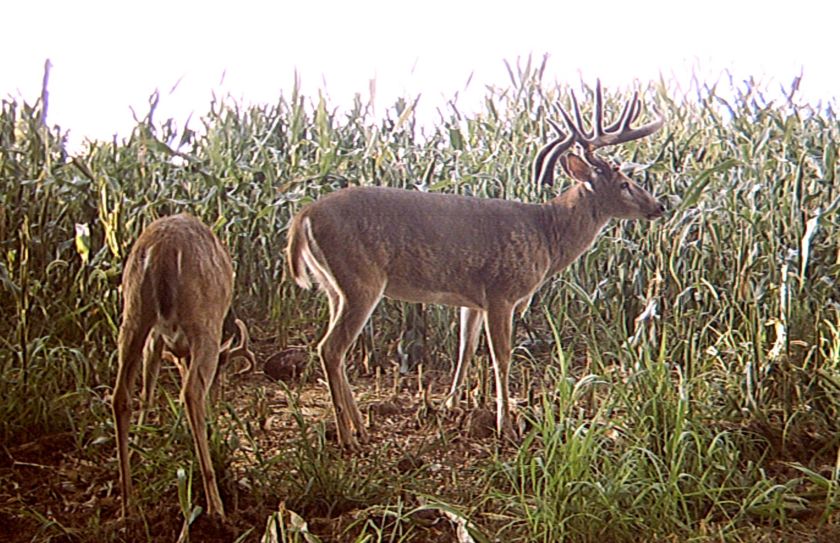
*There are many trail cam tips that you can use this trail cam seasonhowever, none may be more important than actually keeping your cameras hidden!
What is the #1 trail camera tip? Trail cams have the potential to allow you to secretly capture a glimpse into the daily life of even the most reclusive old buck. With that in mind, the #1 trail cam tip is to make sure that you don't get caught! Some of the best general deer advice that I can give you is that whitetails have a much greater ability to pattern you, than we do to pattern them. If you apply that thought to everything you do in the world of whitetails -including your trail cam strategy- your success can reach its most highest potential. On the flip-side, if your trail cam strategy does not begin by adequately hiding your trail cams, you will undoubtably tip the balance of success in the wrong direction. How are you doing with this all-important tip?

*Hiding your trail cam isn't a new concept, in fact it is a strategy I have been teaching for several years. However, it is an extremely important tip that anyone who uses trail cams should be following.
Trail Cam Hiding Tips To Live By
If your trail cam features red infrared bulbs, has a profiled larger than the tree it is on or isn't hidden from the side, try considering improving the level of secrecy in your setups. Briefly, here are my top 5 ways for hiding your trail cams:
1. Ditch the red IR bulbs
If your trail cam's IR bulbs bleed bright red, it may be time to upgrade. Personally, while white flash cams are still some of my favorite, I will most likely never hang another deer spooking, red-bulbed trail cam on my land again. It is impossible to hide something that you can see from 50-100 yards away or more, from the prying eyes of mature whitetails.
2. Match the camera size to the background
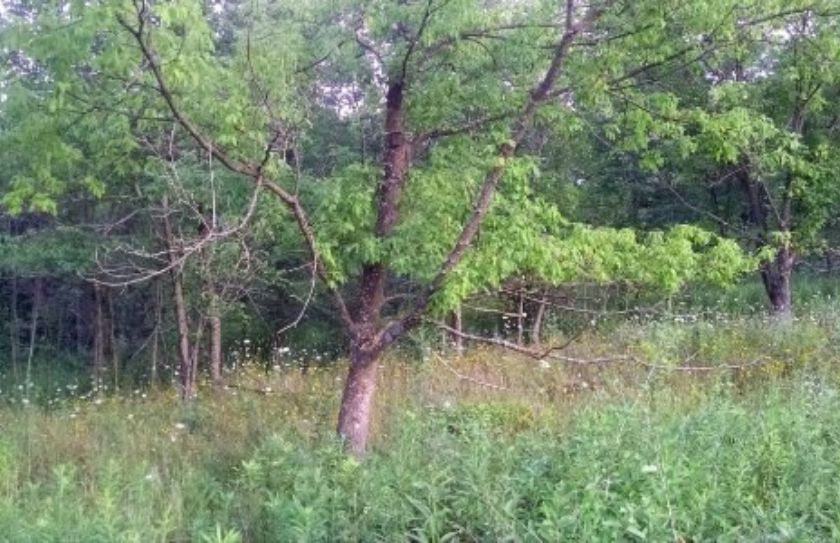
Hiding your trail cam starts with choosing a tree, or at least a completely full background, that hides the width of your favorite trail cam.
3. Protect the trail cam profile
While many trail cams feature outstanding trail cam camo patterns, make sure to keep from allowing their profile to be discovered from the side.
4. "Hang em high" trail cam tip
Unless the trail camera set allows your cam to be completely hidden from a human's eye from 20' or more, a hight of 6' or more is probably needed. Also, if deer have the opportunity to travel by the trail camera within 3-4' or less, the tip of hanging your trail cam high is always best.
5. Hidden camera access
Some of my personal best setups are hidden in trees that allow me to approach from behind, reach around and to change a set of batteries or SD card, without walking into the "deer zone", in front of the trail cam.
*Location, location, location... do you have the perfect spot to hang your trail cam?
Conclusion
"Don't get caught" - trust me, I have learned this tip the hard way! The year was 1999 and 36 exposure 35mm film was the rule of the day. I quickly learned that an entire high quality deer trail could be altered within just a matter of days, due to an improper trail cam placement. However, I also learned just as quickly that the use of the cover from a nearby pine or spruce was an easy fix to properly hiding my trail cams. Also, using the sand trails to access my trail cams while avoiding any nearby grass, briars, weeds or hardwood regen was a great help as well. While I can literally write a book about trail cams -and will actually do so soon- there may be no greater trail cam tip than first learning to not get caught! But in the end, shouldn't that be the same theme for all of your deer related hunting and habitat activities? Learning to hide yourself and your untrusions into the deer woods in any and everything you do, is most likely not only the greatest tip when it comes to your trail cam use, but whenever you take a step in the deer woods.


